
What is a Date and Time Workflow in Vryno CRM?
A “Date and Time Workflow” refers to a systematic and automated process within a system that is triggered or executed based on specific dates and times. This type of workflow often involves the scheduling and activation of actions or tasks at predefined dates or times.
For instance, a Date and Time Workflow might be designed to send automated reminders, update records, or initiate specific processes on a scheduled basis. This functionality is particularly useful for managing time-sensitive tasks, ensuring that actions are taken promptly and in accordance with predetermined timelines.
How can you Create a Date and Time Workflow in Vryno CRM:
-
-
- Access Your Profile Settings: Navigate to your profile icon and click on “Settings.”

- Go to Workflows Under Automation: Find and select “Workflows” under the Automation section on the left-hand side.

- Before initiating the workflow creation process, it’s essential to create a reference action. Please refer to the attached document for detailed instructions.
How to create an action for a Workflow in Vryno CRM
- Create a New Workflow: Click on “+Workflow” to initiate the creation of a new workflow.
- Provide Relevant Details: Enter necessary details such as module name and rule name.
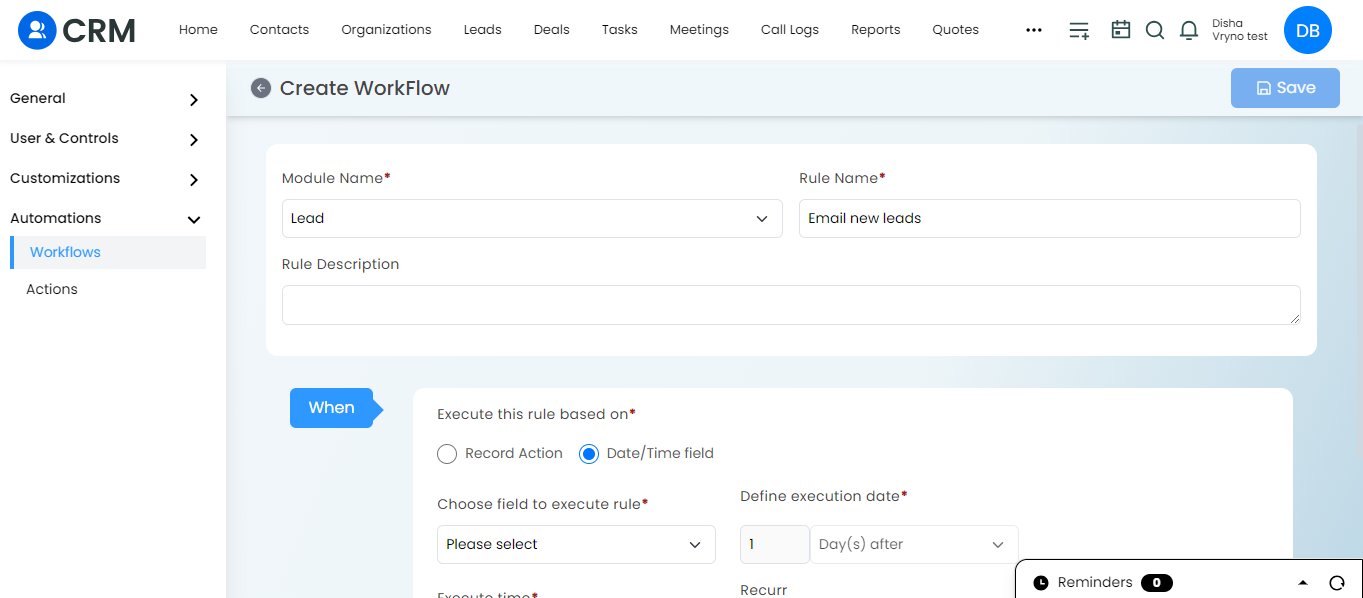
- Define Rules: Specify the rules based on your requirements.
- Select Date/Time Field: In the checkbox options, choose the Date/Time field where users can send emails or trigger workflows.
Example: Send Welcome Emails to Newly Created Leads After 1 Day:- Consider the scenario where you want to send a welcome email to newly created leads after 1 day.
- Under “Choose field to execute rule” you can also choose “Converted On” if the lead is converted to a deal.
or “Updated at” as shown in below screenshot.
- Refer to the provided screenshot for guidance.

- Click on Save: Save your workflow configuration.
- Apply Conditions: Apply any additional conditions according to your needs.
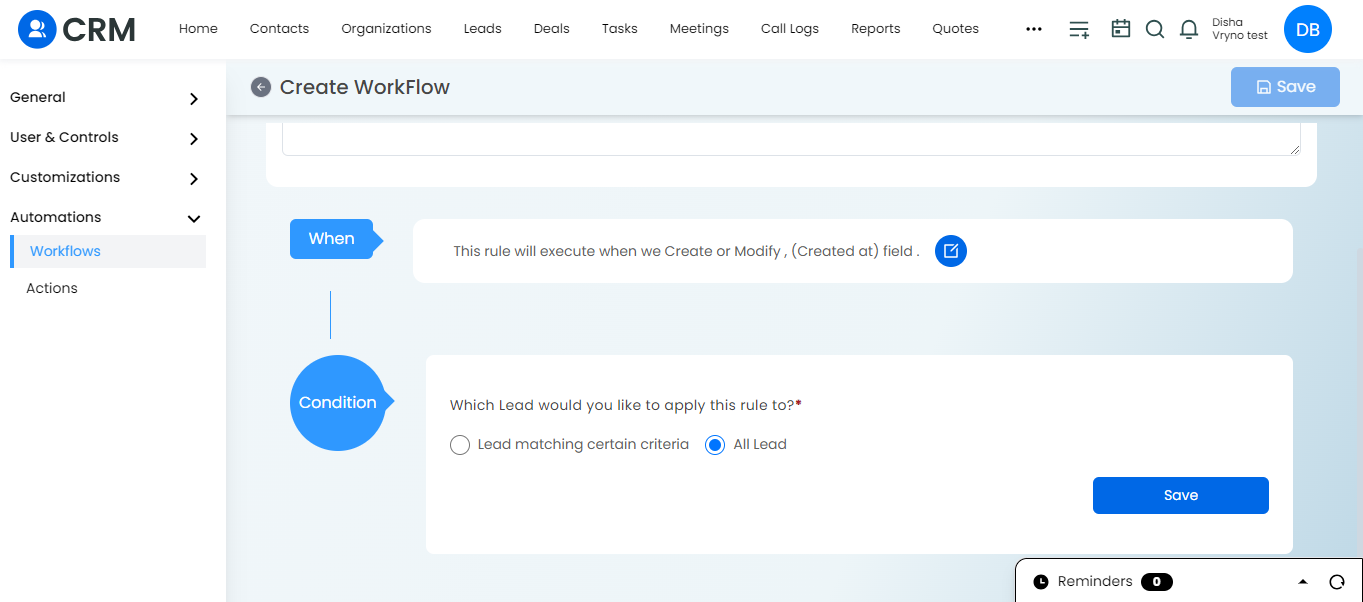

- Save Again: Click on “Save” to finalize and activate your workflow.
- Workflow Ready: Your workflow is now set up and ready to automate tasks based on the defined rules and conditions.
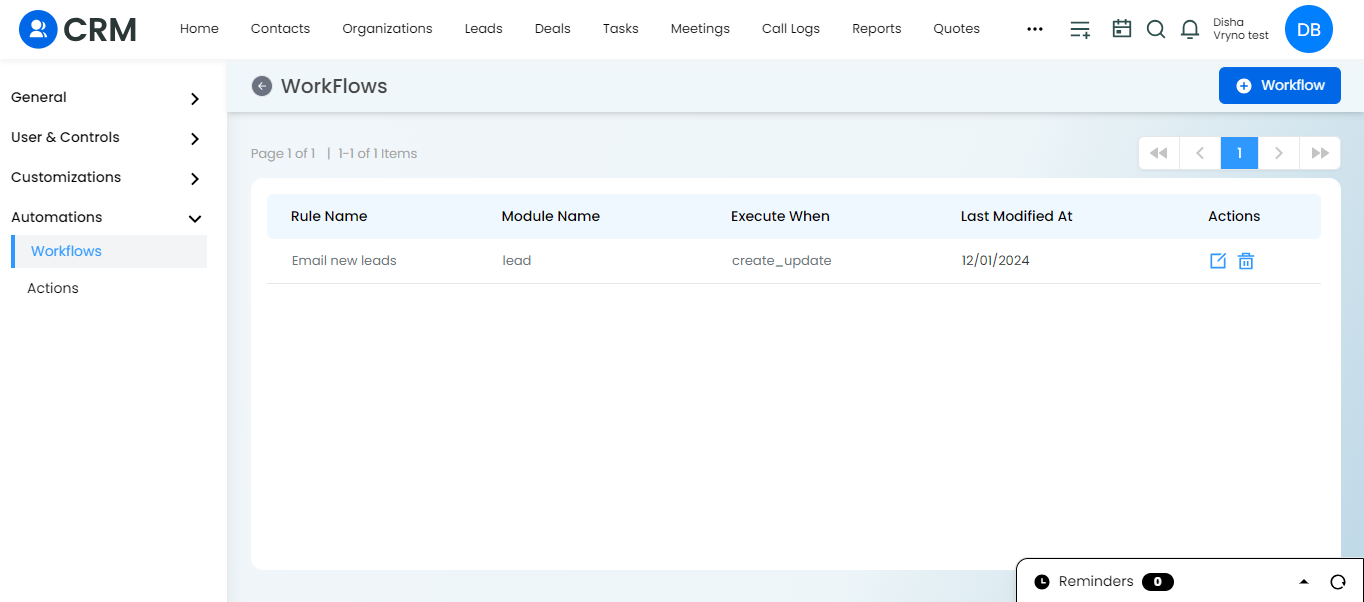
How can you Edit/Update a Date and Time Workflow in Vryno CRM:
1. Actions: Navigate to the “Actions” section.
2. Look for the icon below the “Actions” tab, as shown in the provided screenshot.

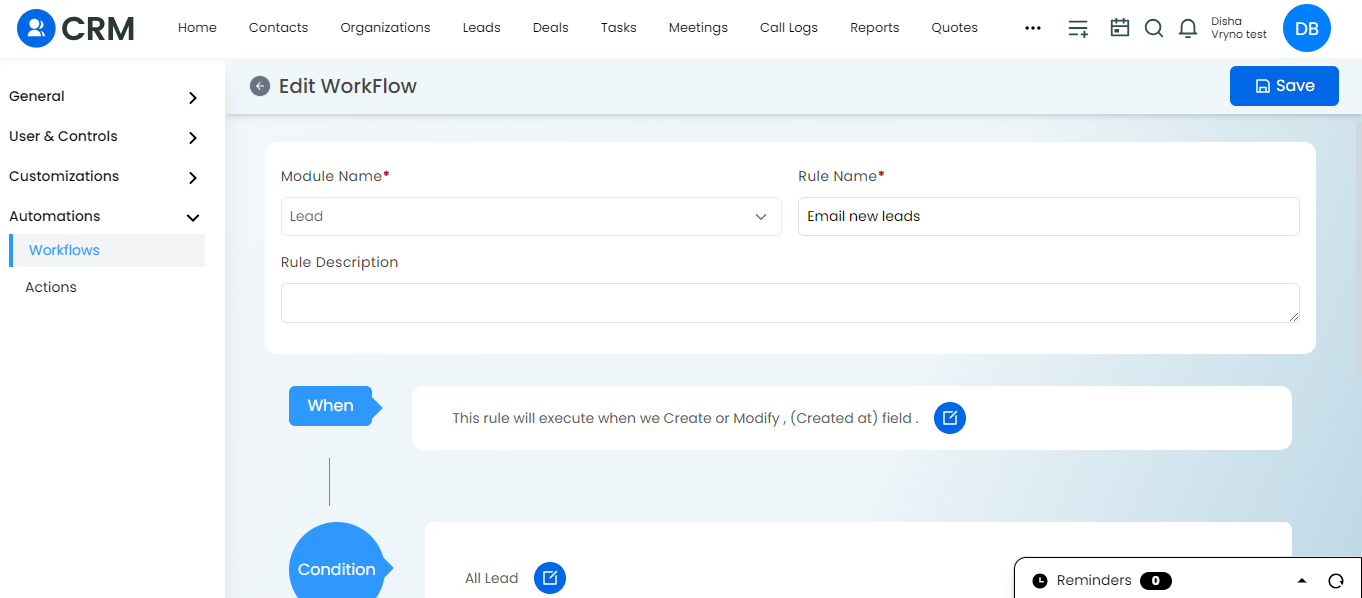
3. Edit/Update: Here you can edit/update the workflow according to your need.
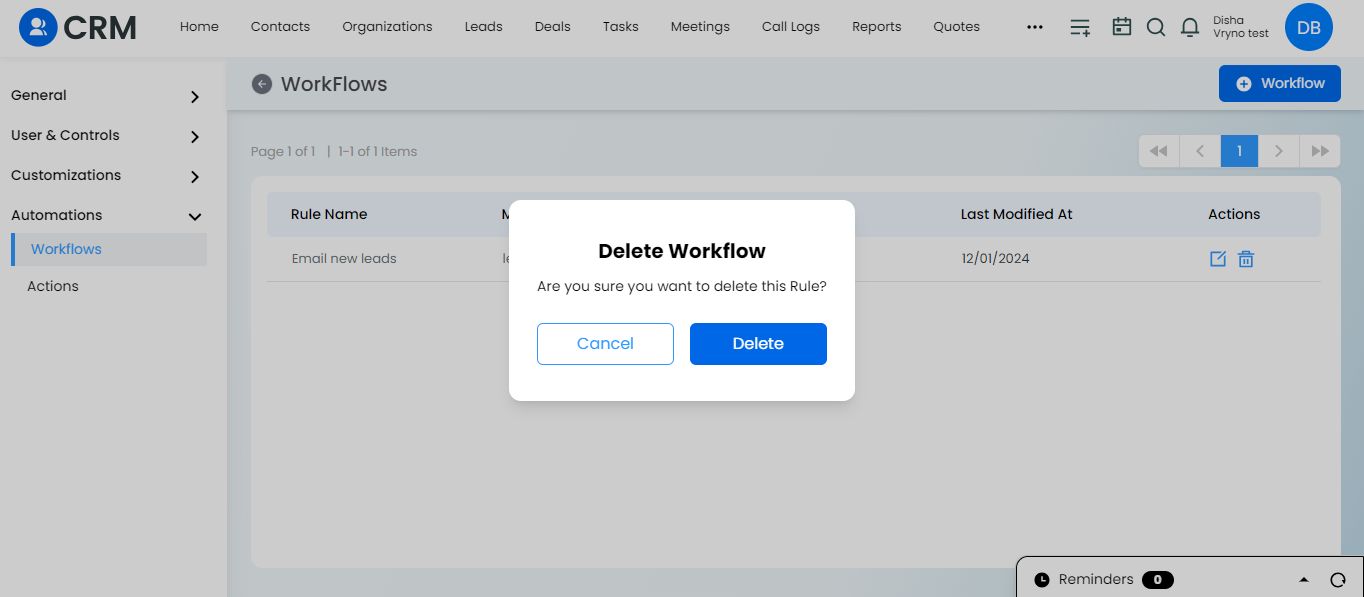
How can you Delete a Date and Time Workflow in Vryno CRM:
1. Actions: Navigate to the “Actions” section.
2. Look for the icon below the “Actions” tab, as shown in the provided screenshot.
- Access Your Profile Settings: Navigate to your profile icon and click on “Settings.”
-