
What do you mean by Color Picklist?
A Color Picklist in CRM refers to a feature that allows users to assign specific colors to values within a picklist or dropdown field. Instead of displaying only text options, the picklist presents a range of colors that users can choose from when selecting an option.
The Color Picklist feature is particularly useful in CRM systems for various purposes:
- Visual Representation: It provides a visual representation of data, making it easier for users to interpret and analyze information at a glance.
- Customization: Users can assign colors to different categories, statuses, or priorities within the CRM system, enabling them to customize the interface according to their preferences or organizational needs.
- Enhanced User Experience: By adding color-coded options, the CRM interface becomes more intuitive and user-friendly, leading to improved efficiency and productivity.
- Quick Identification: Color-coded picklists allow users to quickly identify and distinguish between different types of records or activities, reducing the risk of errors and enhancing data accuracy.
Steps to Implement Color Picklists:
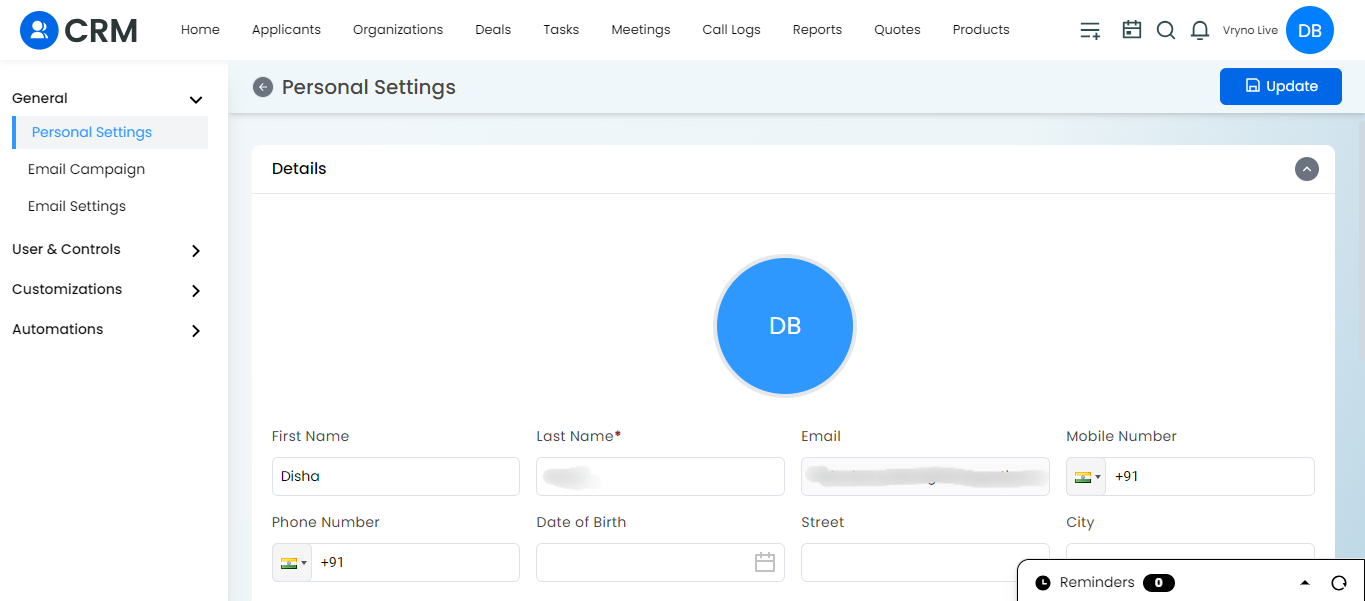
- Login and Access Settings:
- Log in to Vryno CRM.
- Navigate to your profile and click on settings.
- Log in to Vryno CRM.
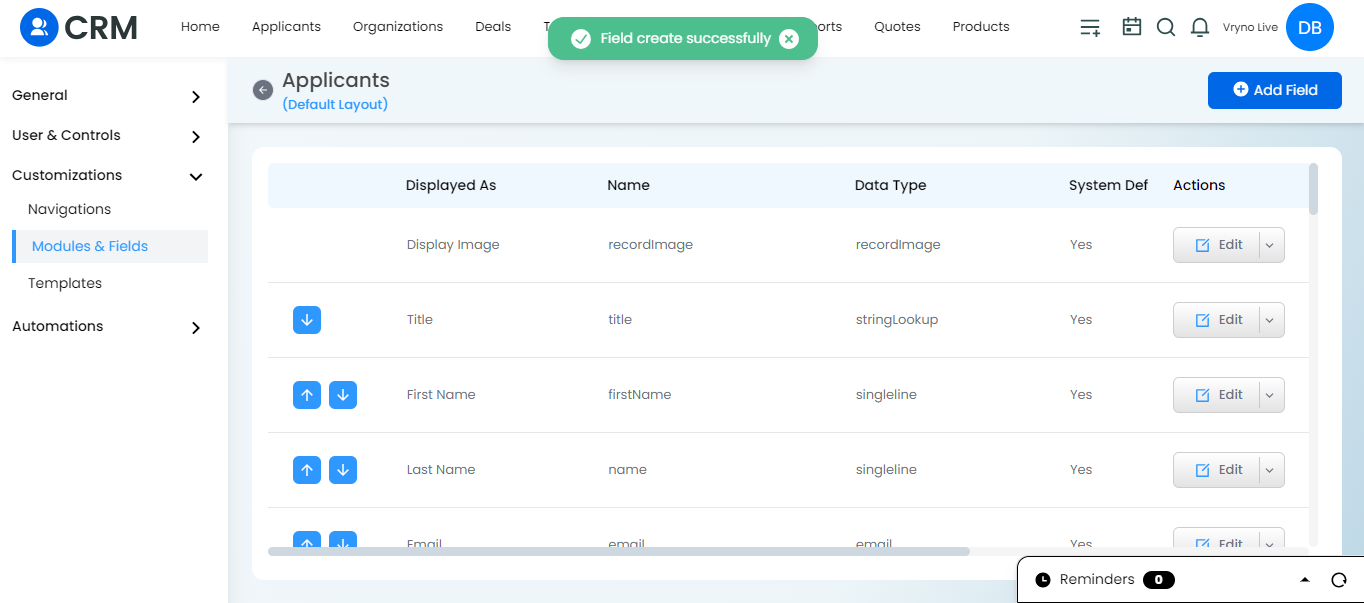
- Customization Settings: Modules & Fields:
- Under Customizations, go to Modules & Fields.
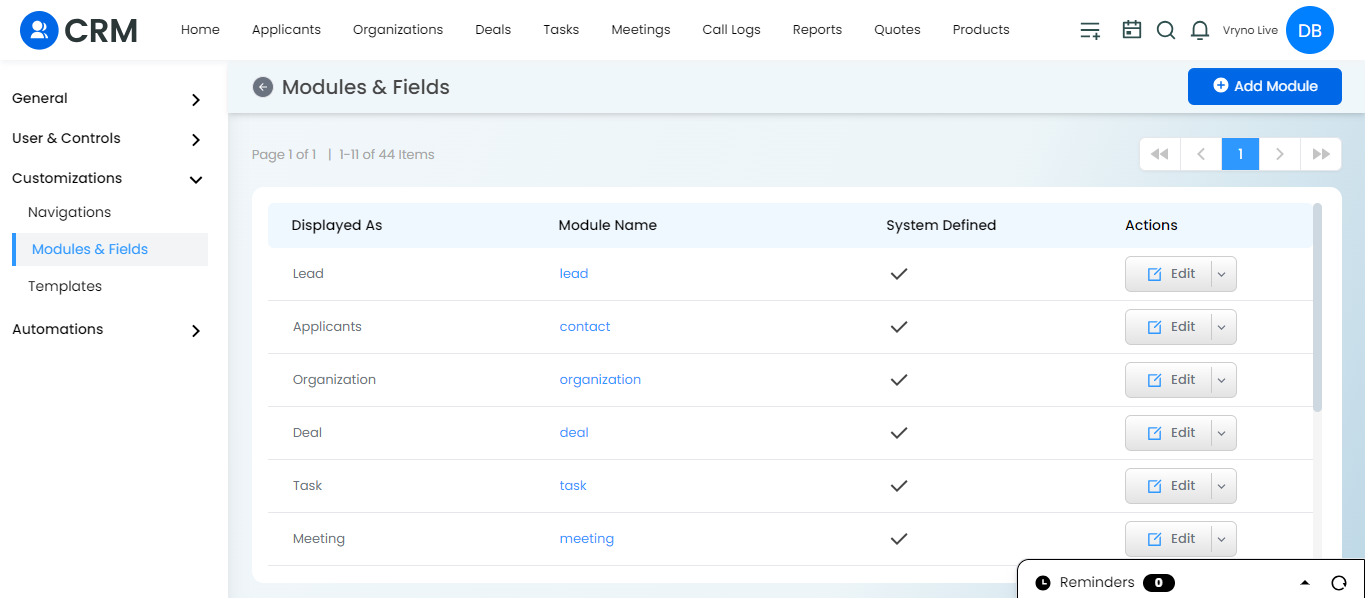
- Select any module name.
- Under Customizations, go to Modules & Fields.
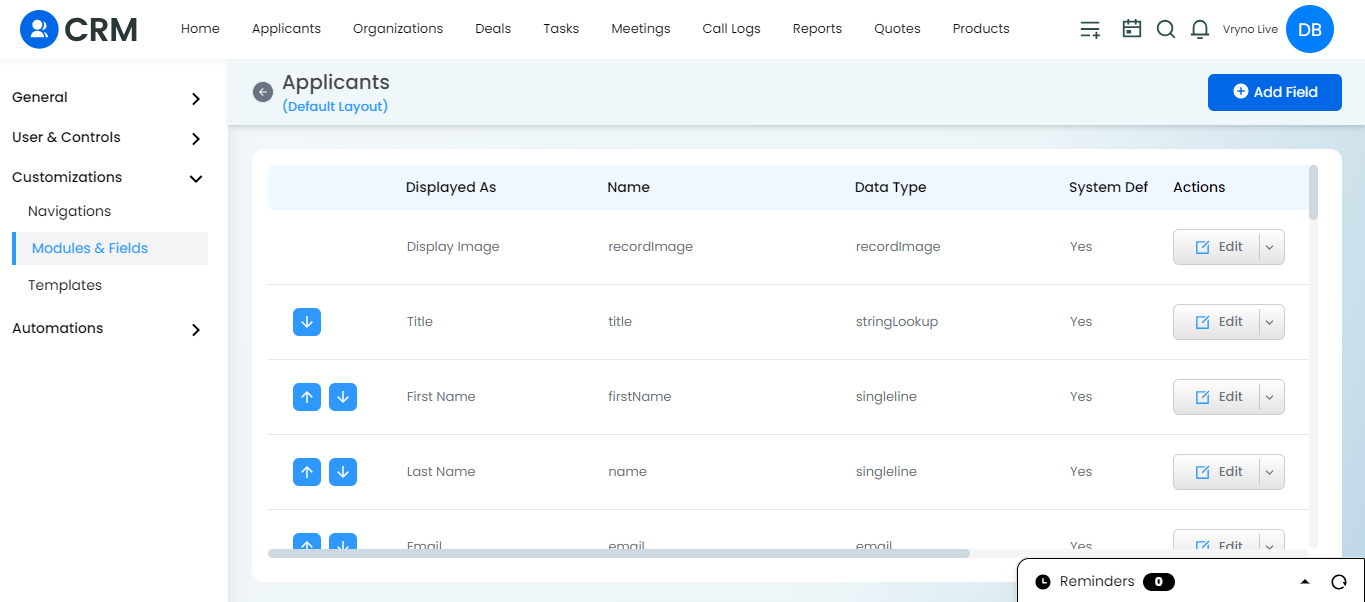
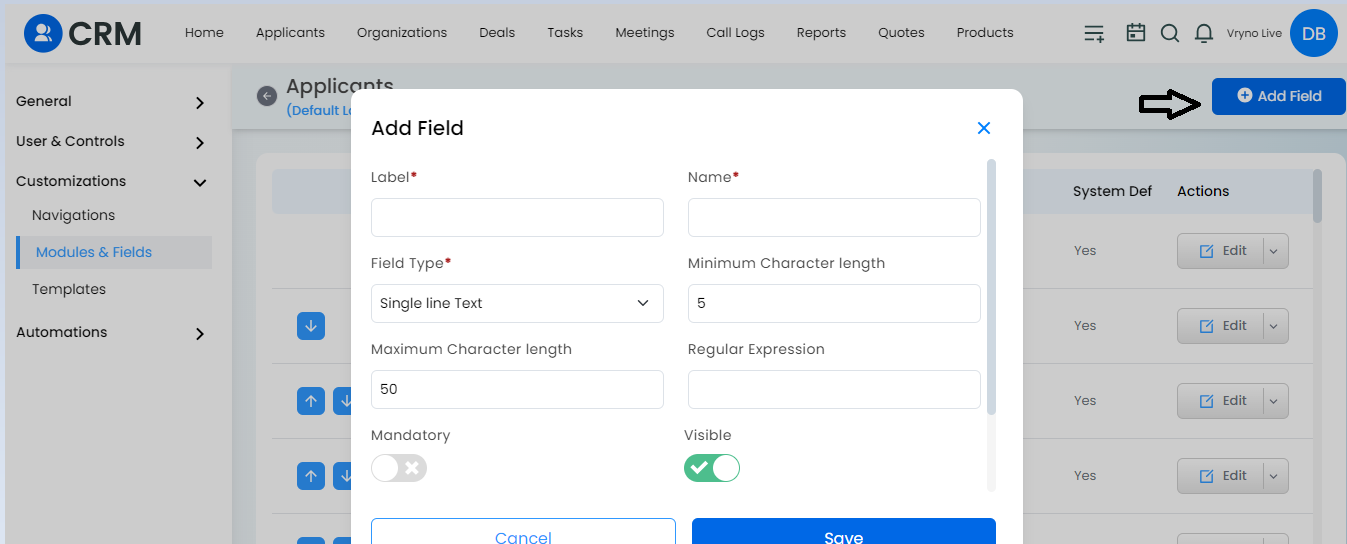
- Adding a New Field:
- Click on + Add field.

- Provide the necessary details.

- Ensure the toggle button to allow color is active.
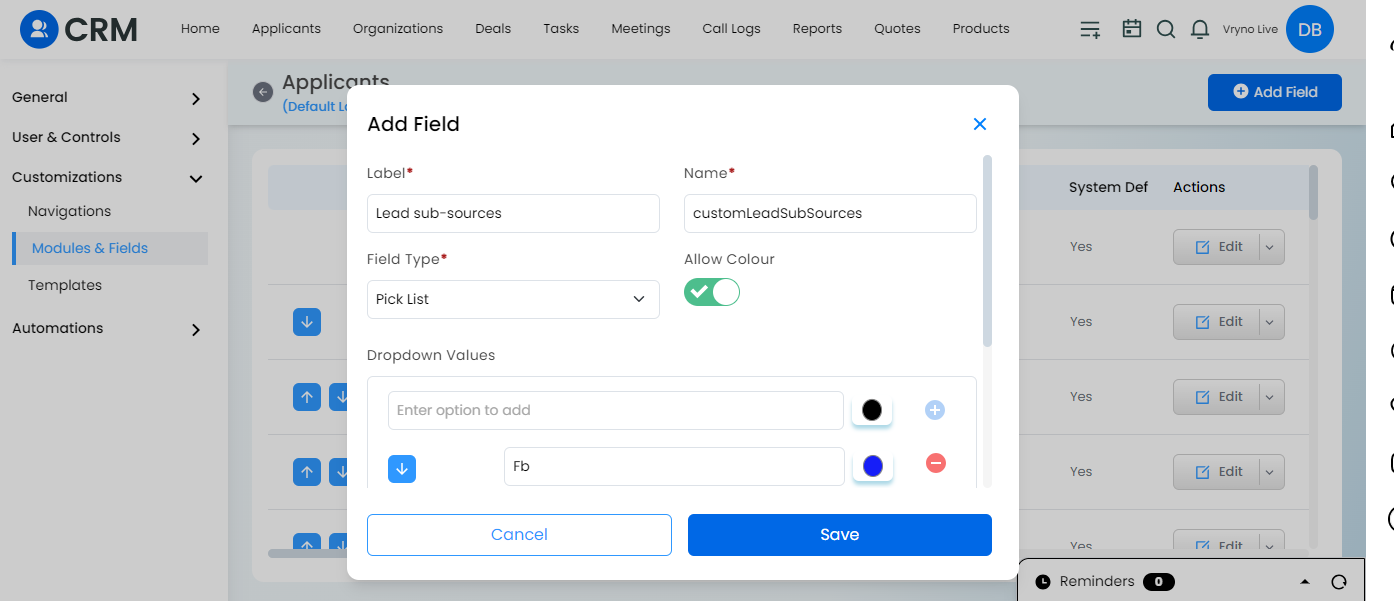
- Save the changes.
- Click on + Add field.
- Setting Dropdown Values with Colors:
- In the dropdown values section, fill up the source of contact and assign colors.
- Save the changes.

- In the dropdown values section, fill up the source of contact and assign colors.
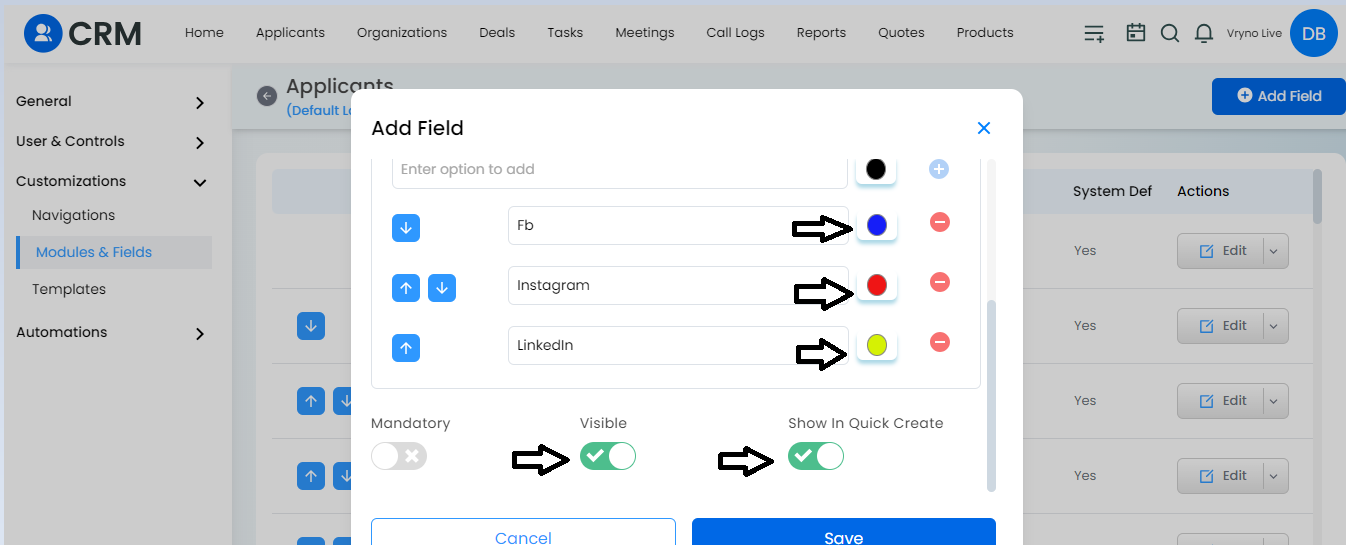
- Adding Another Field with Color:
- Click on + Add field.
- Specify label, field type, and enable “Allow Color”.
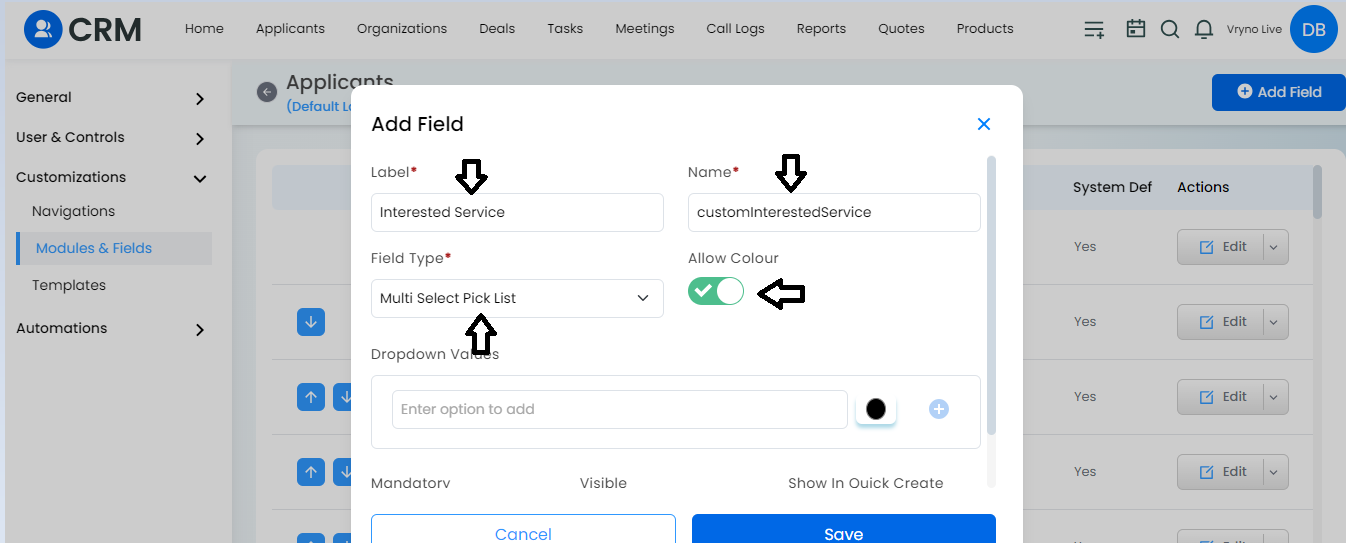
- Fill up the dropdown values.
- Ensure “Visible” and “Show in Quick Create” toggles are enabled.
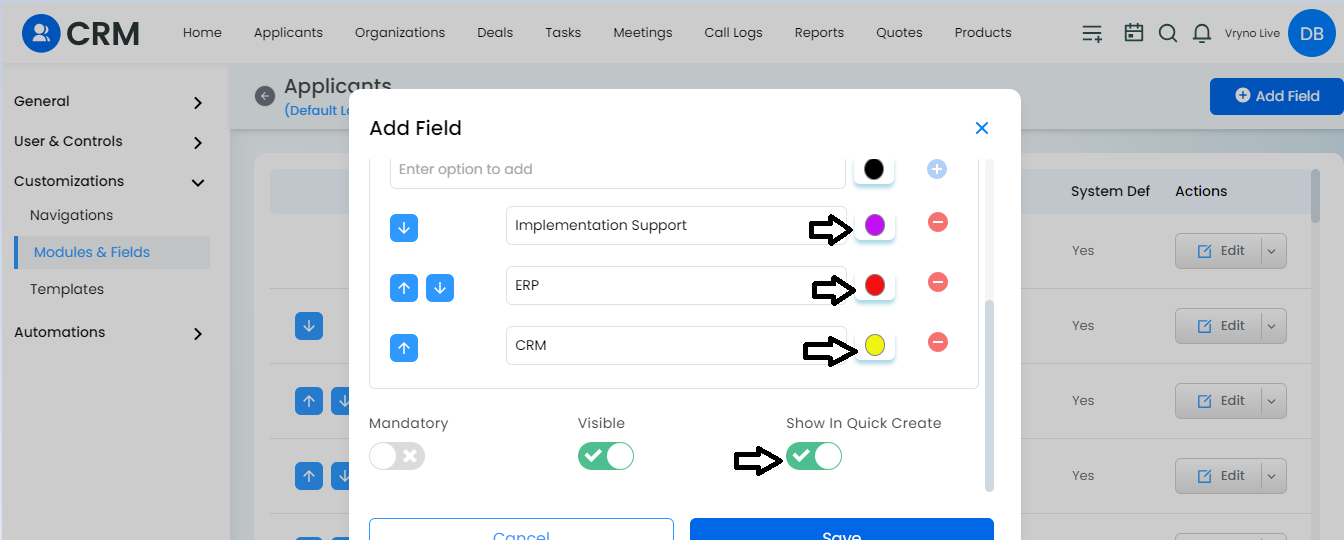
- Save the changes.
- Click on + Add field.
- Viewing Color-Coded Fields in Applicants Module:
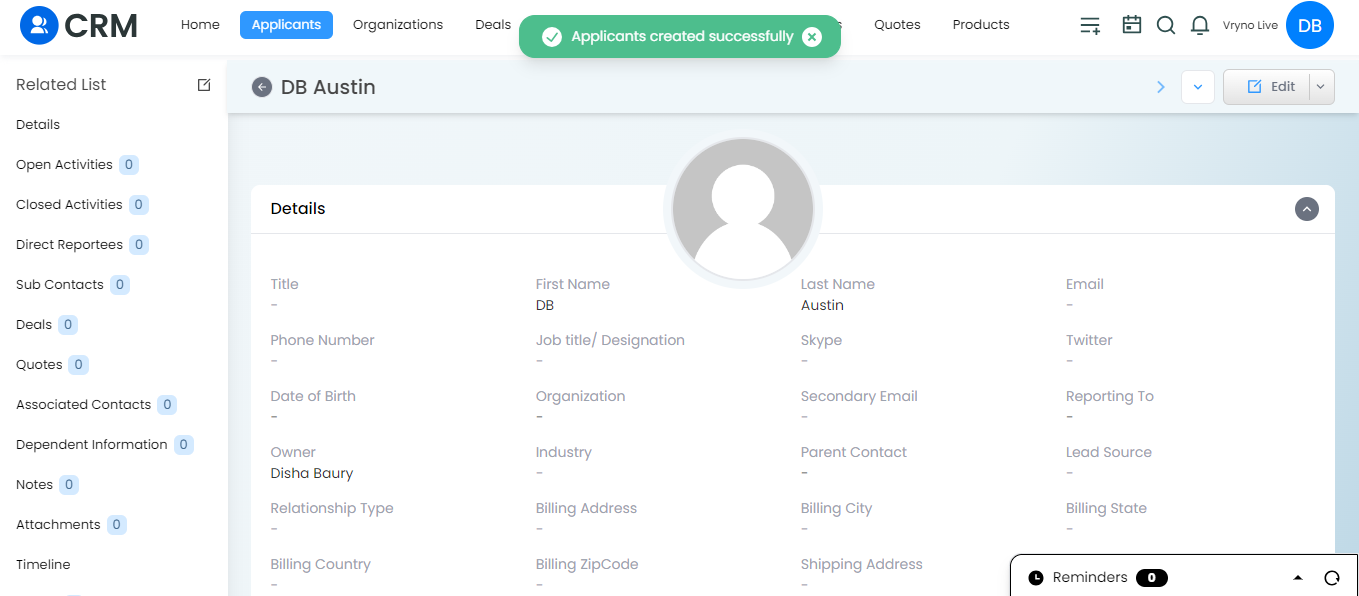
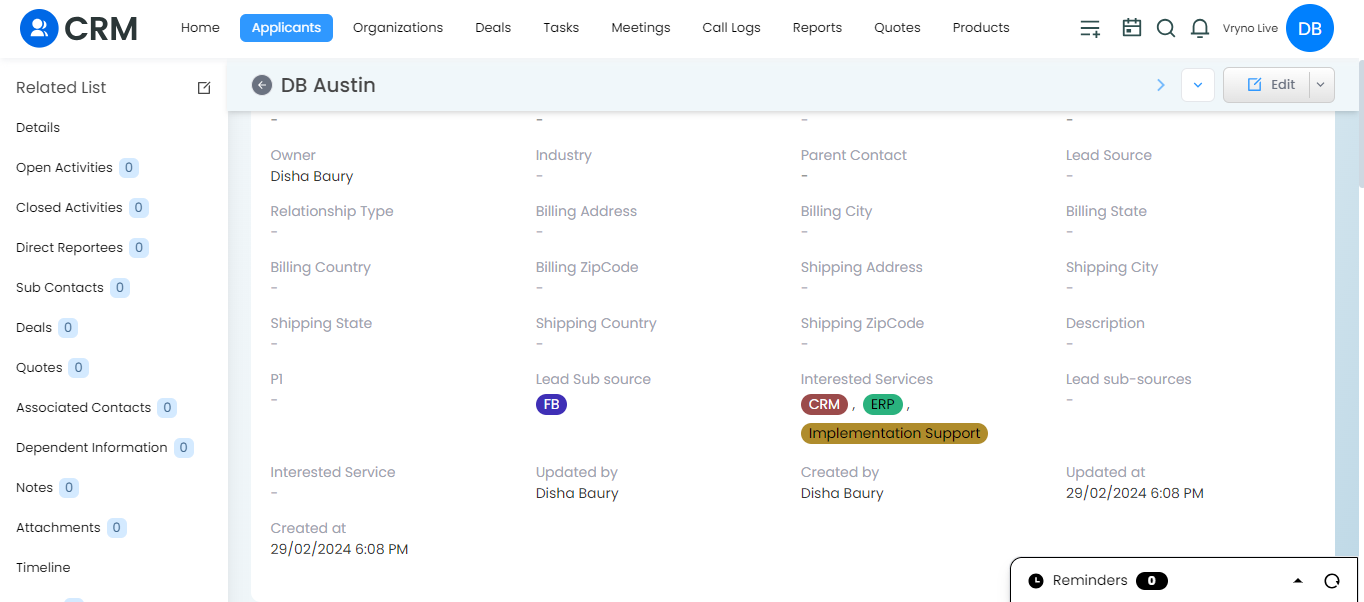
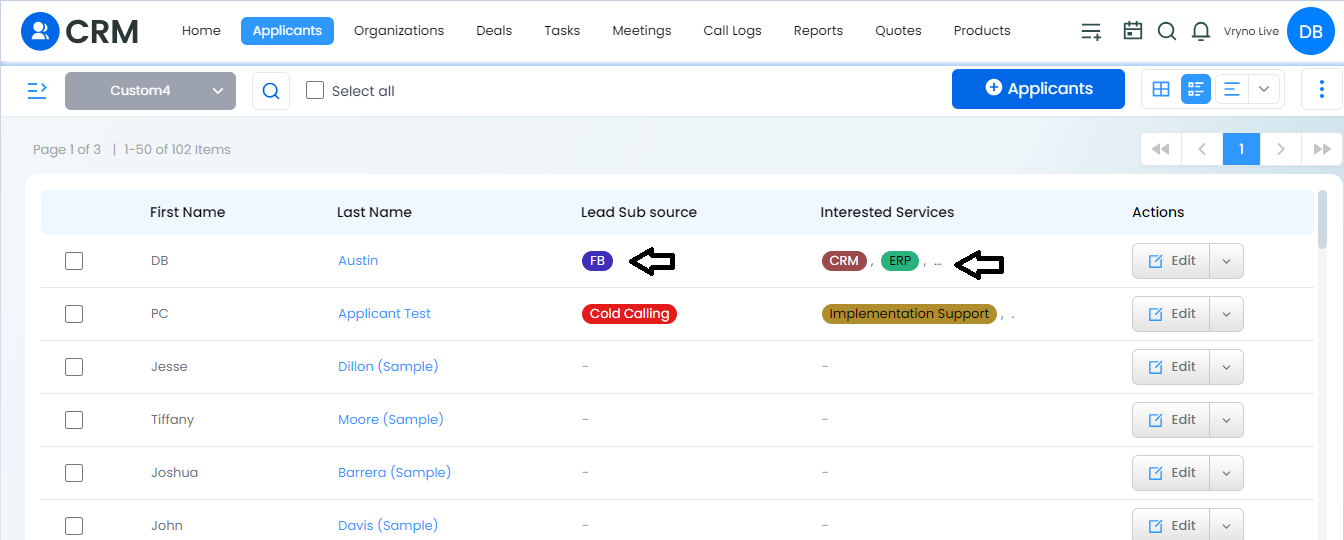
- Go to the Applicants module.
- Click on “+ applicants” to view the applied colors and filters.
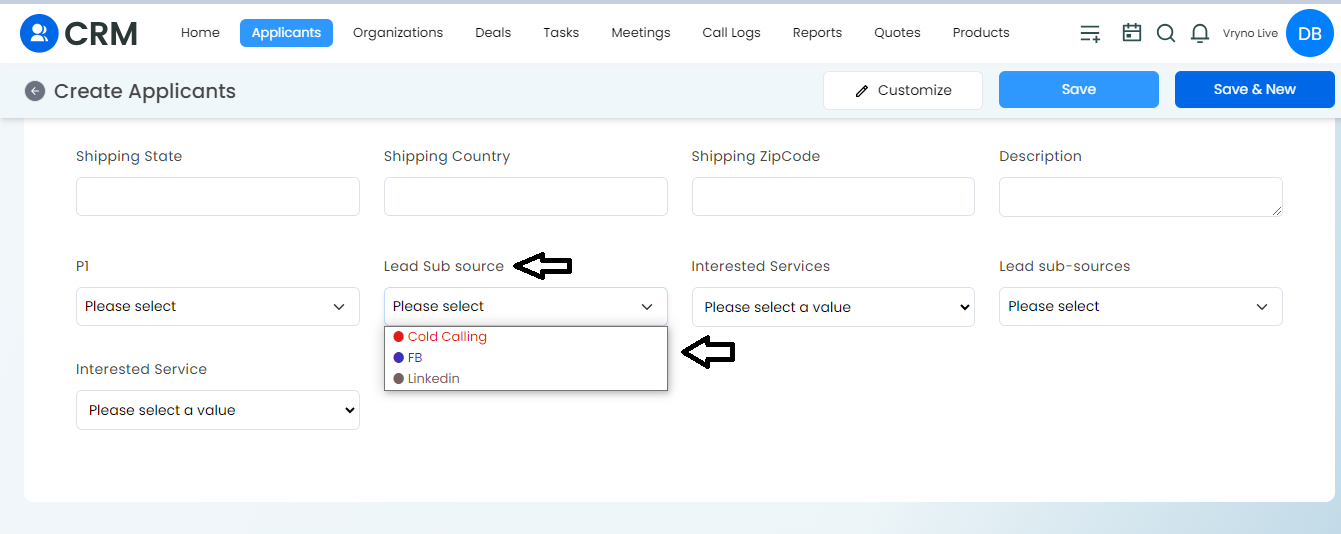
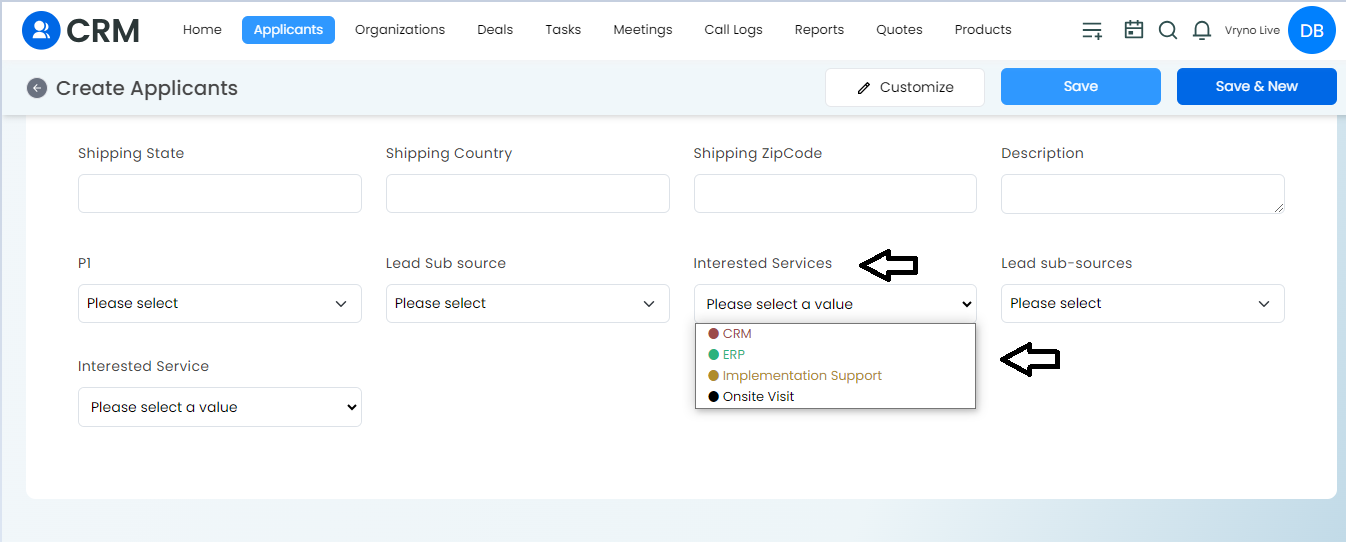
- Create an Applicant.
- Creating a Custom View:
- Create a custom view in the same module with desired settings.
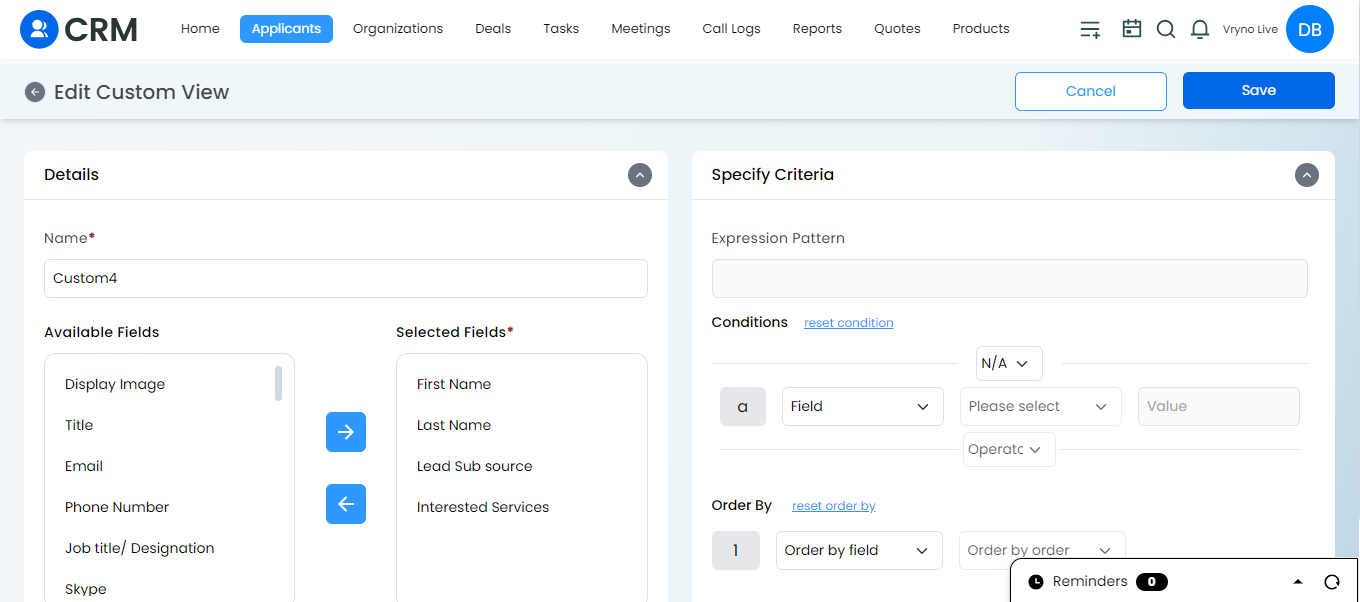
- Click on save for future reference.
- Create a custom view in the same module with desired settings.