1. Home
  2. Docs
  3. Customizations in Vryno C...
  4. How to create HTML Email Templates in Your CRM

How to create HTML Email Templates in Your CRM

What is HTML template?

An HTML template is a pre-designed layout or structure created using HTML (Hypertext Markup Language). It acts as the backbone of web pages, ensuring uniformity in structure, layout, and formatting.

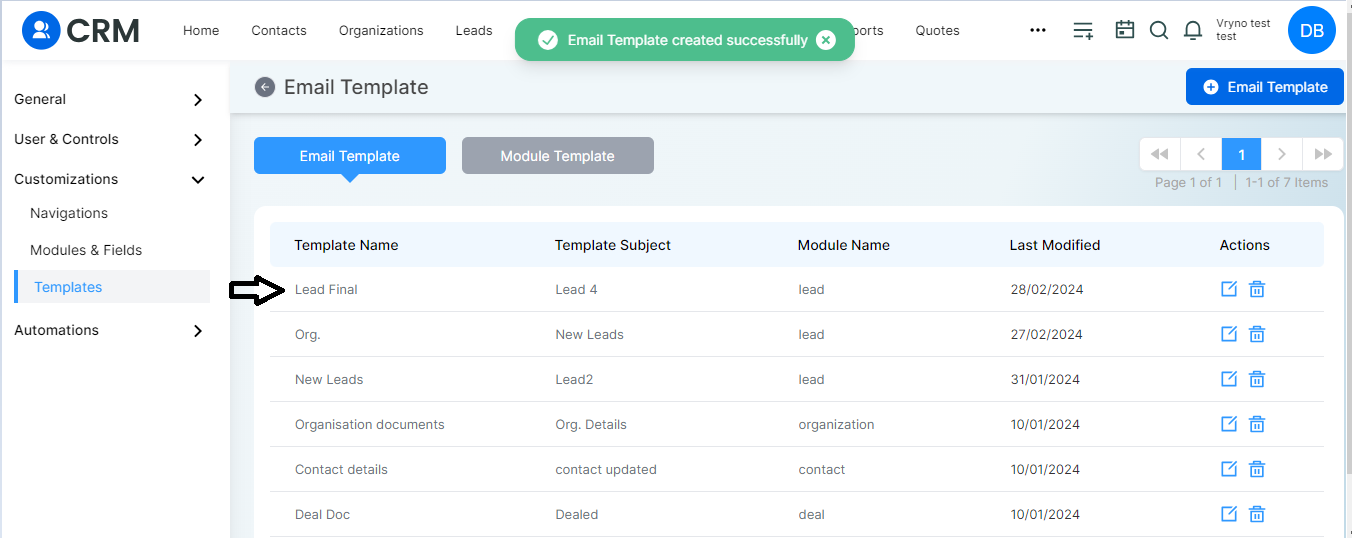
You can now create and utilize HTML-based templates in your existing Email templates to craft visually stunning and highly customizable emails.

This enhancement offers greater flexibility and creativity in designing your email communications, allowing you to better engage with your audience and make a lasting impression.

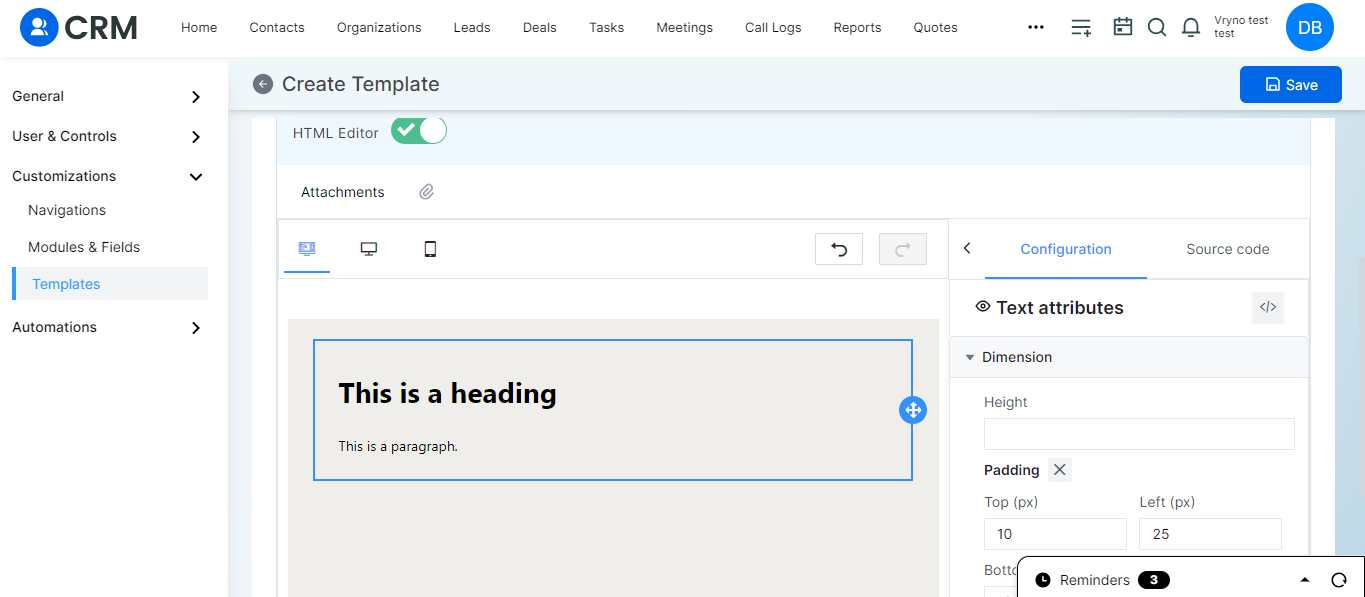
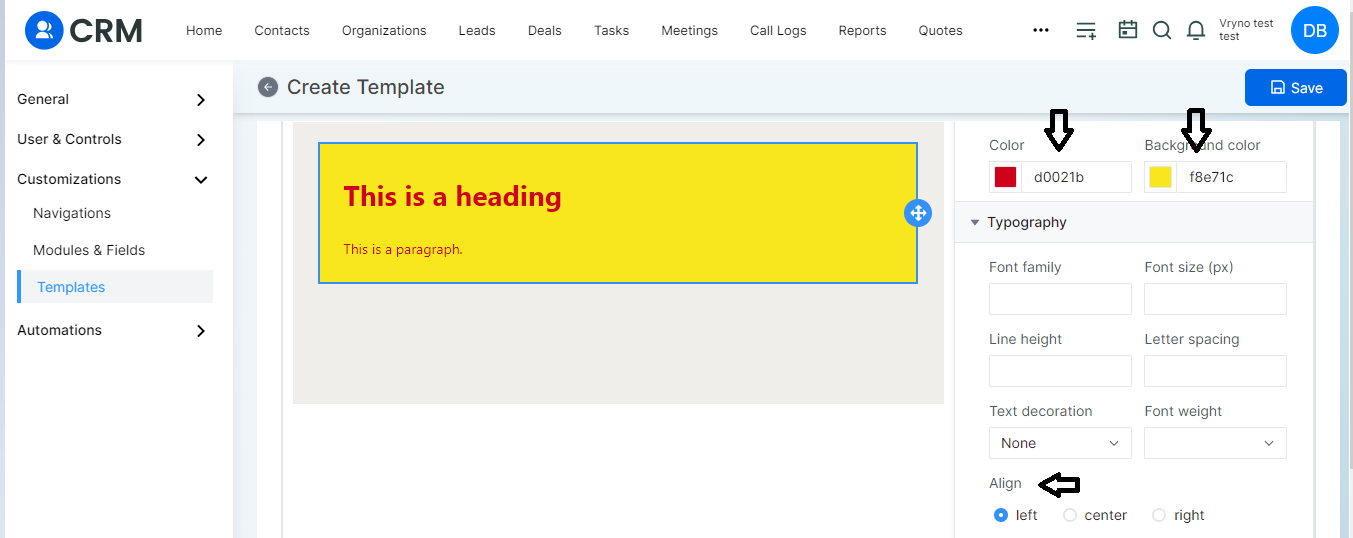
With a HTML template, you can effortlessly insert text, fonts, and images into the pre-existing design.

Using HTML templates in your CRM system offers numerous benefits:

  1. Maintaining Brand Identity: HTML templates ensure that all customer communications adhere to your brand’s visual identity, including colors, fonts, and style, fostering consistency across interactions.
  2. Professional Presentation: Create polished emails, newsletters, and reports with HTML templates, enhancing their appeal and leaving a positive impression on customers.
  3. Tailored Communication: Personalize messages by dynamically inserting customer names, relevant details, and customized content, reflecting their preferences and prior interactions.
  4. Streamlined Workflow: Pre-designed HTML templates save time and effort in crafting and formatting communications, enabling your team to focus on engaging customers and driving business outcomes.
  5. Insightful Analytics: HTML templates often include built-in analytics tools to track communication performance, such as open rates and conversions, facilitating data-driven decision-making to optimize future campaigns.

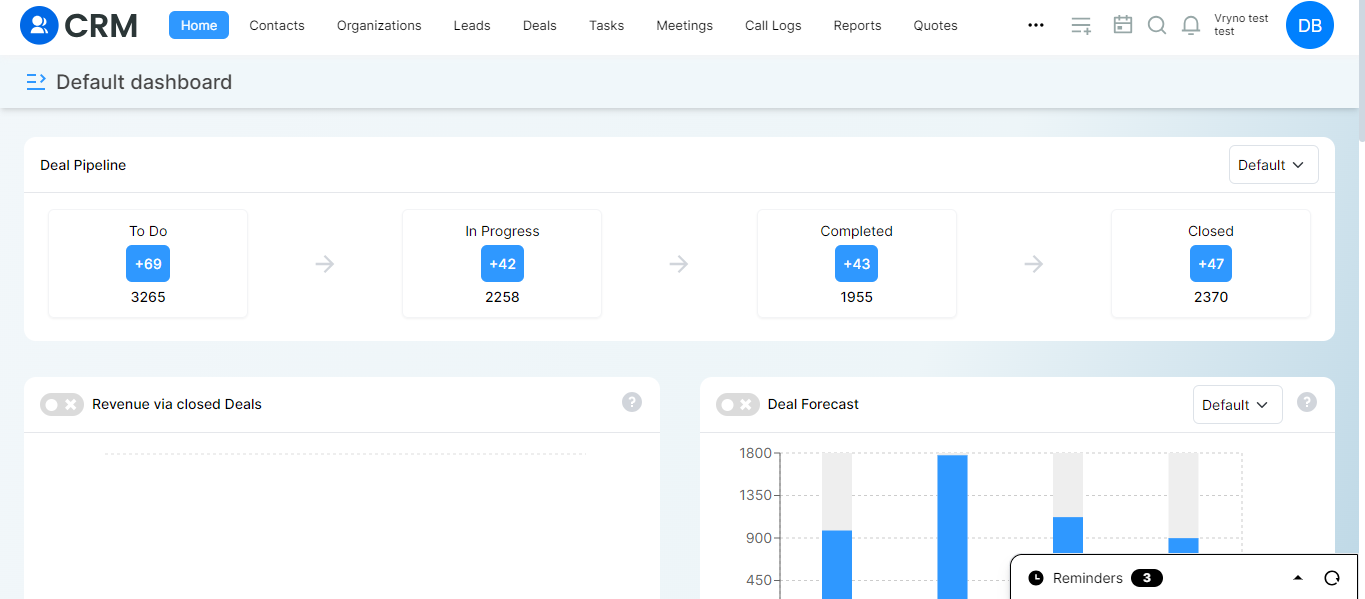
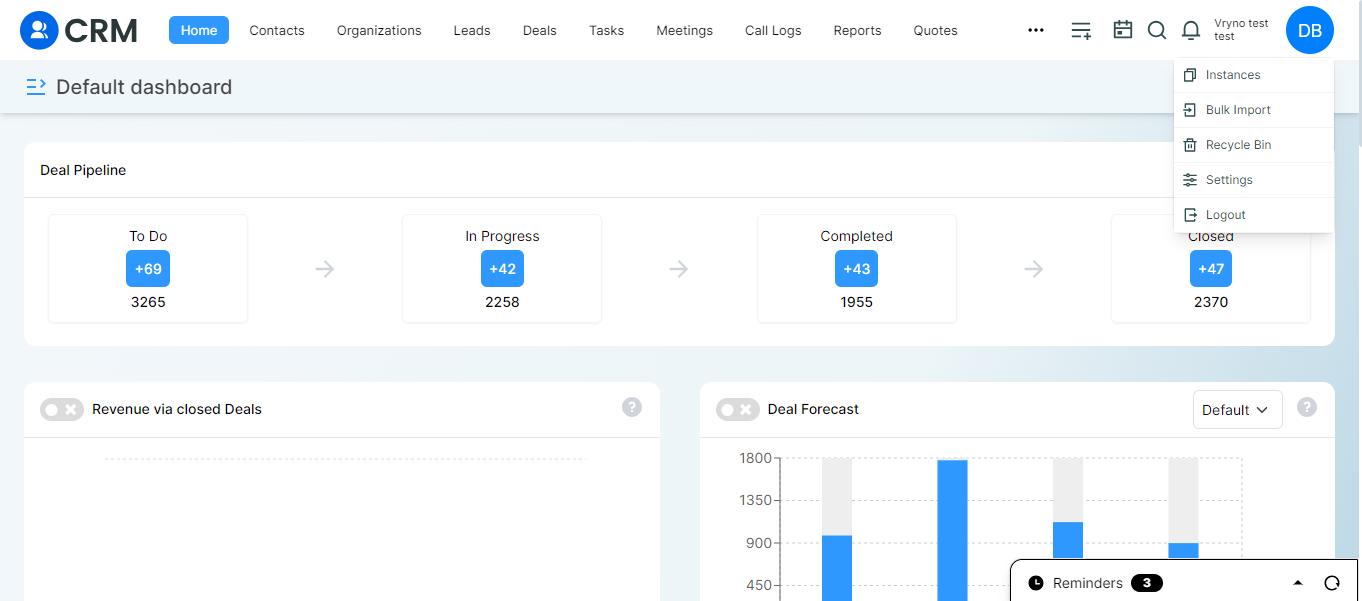
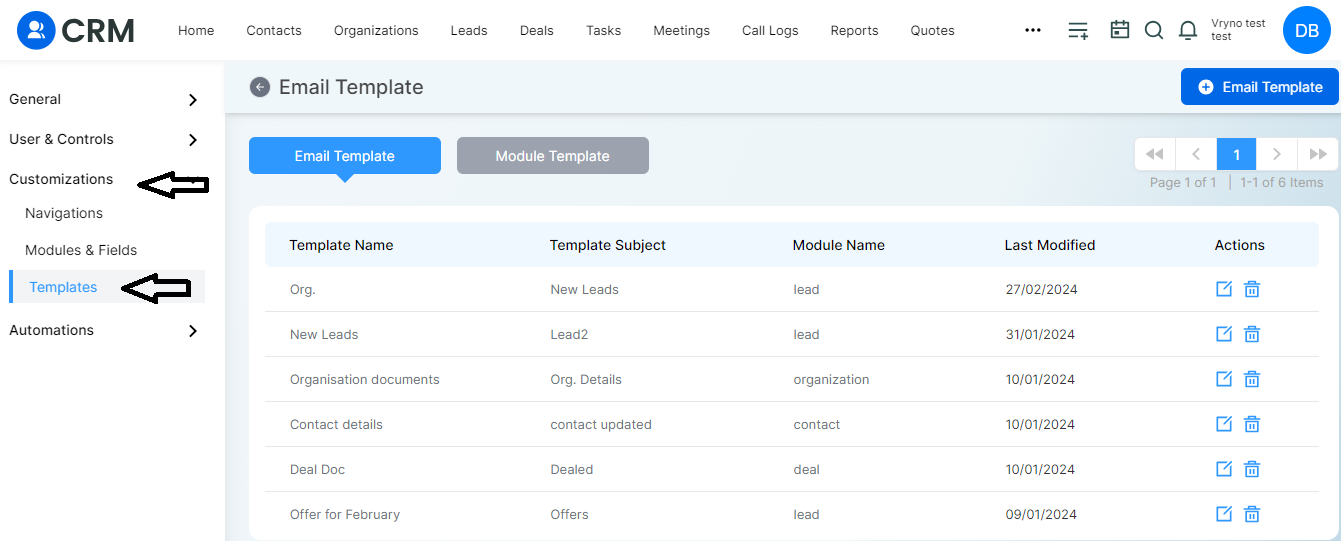
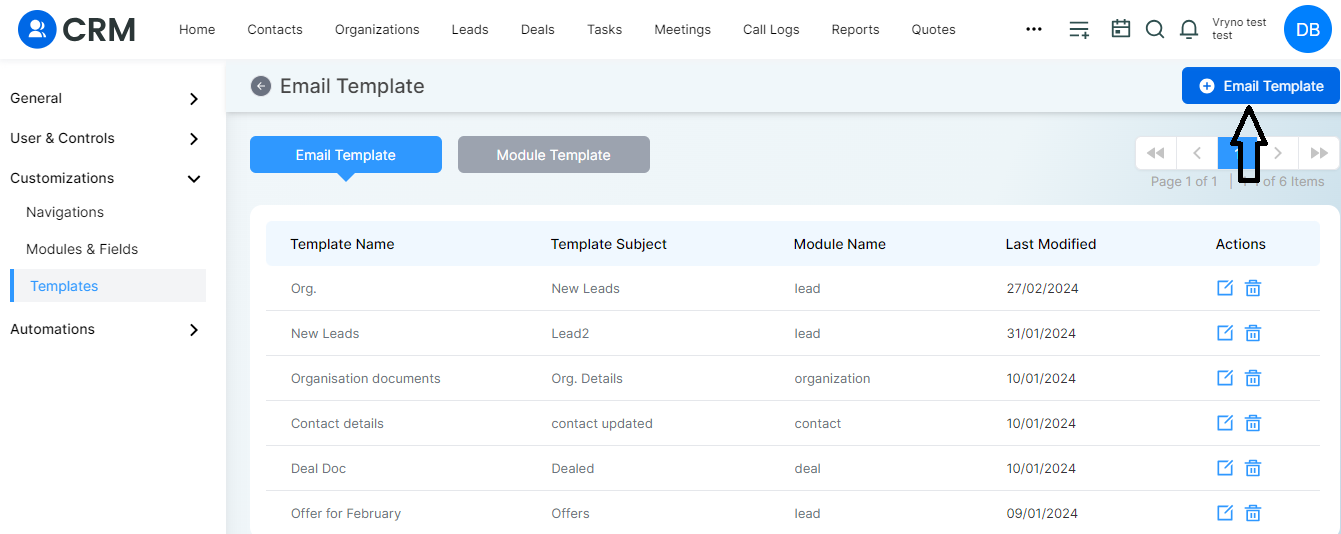
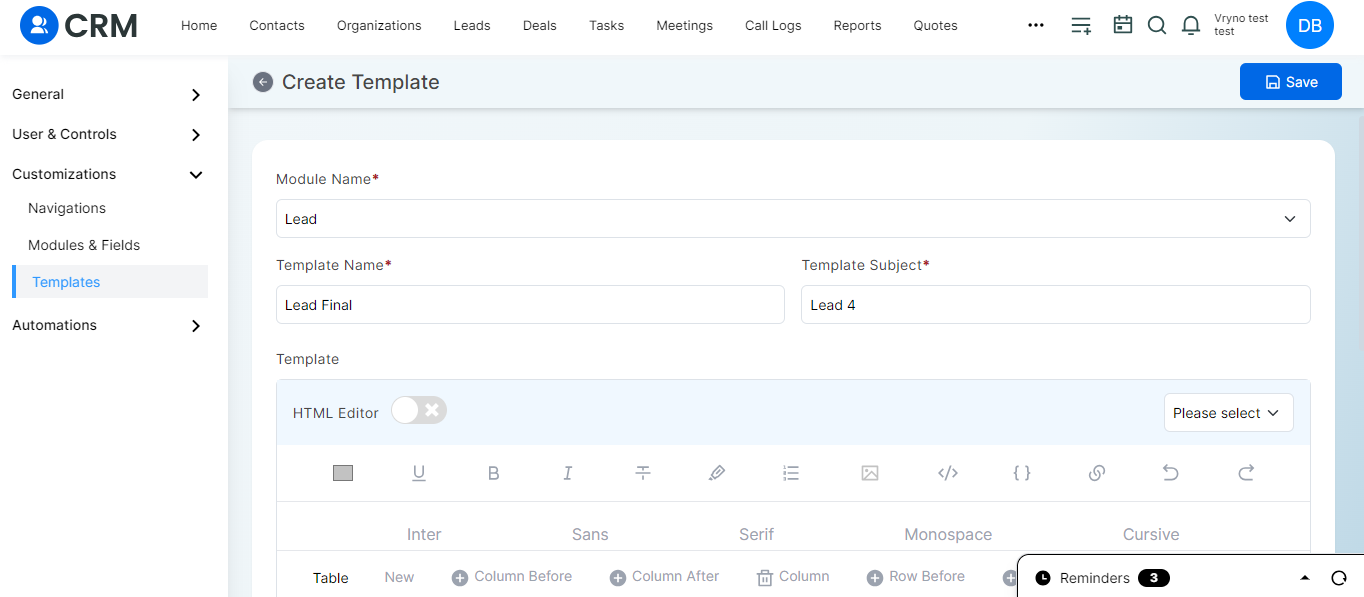
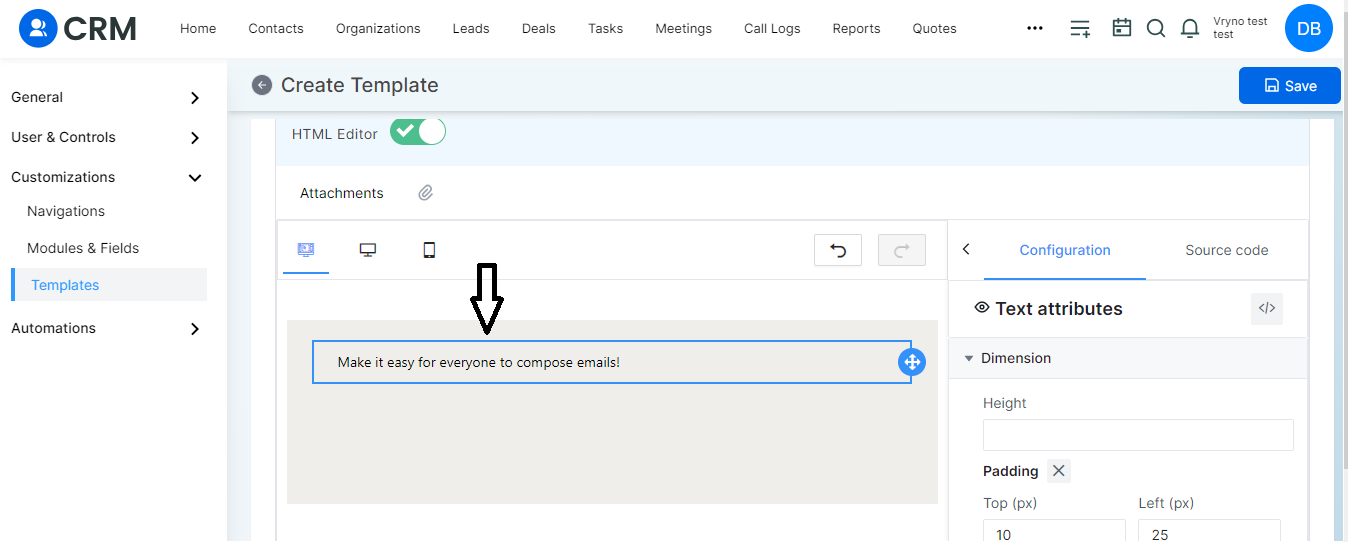
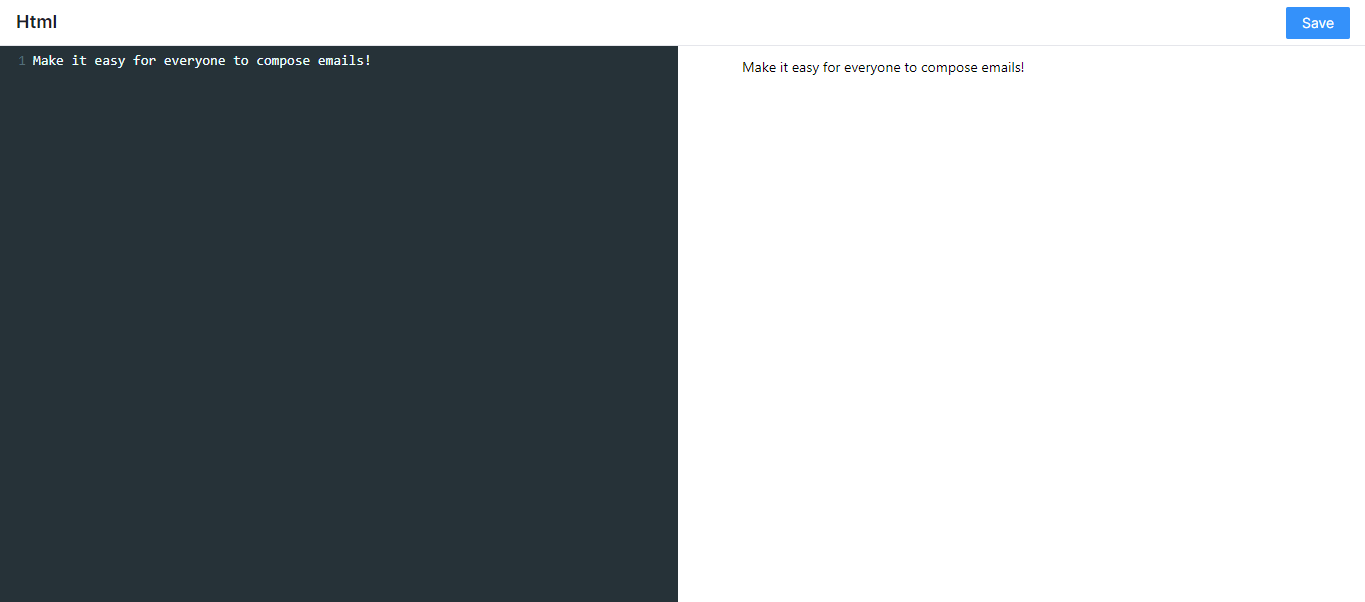
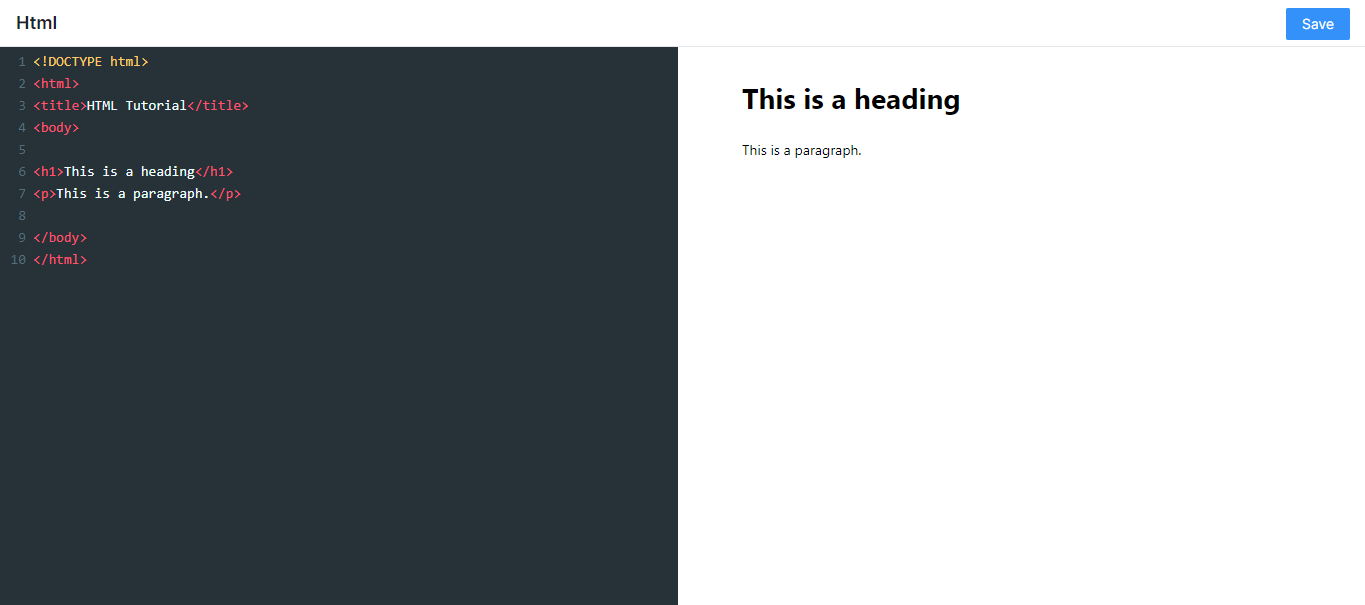
Steps to Implement HTML Templates in Your CRM:

  1. Login to Vryno CRM
  2. Navigate to your Profile and Access Settings
  3. Customization Setup: Templates
    • Under the Customization Section, Select Templates
    • Click on Email Template and Choose “+Email template”
  4. Template Details Configuration
    • Specify Module Name, Template Name, and Subject
    • Enable the HTML Editor Option
  5. Content Design
    • Drag and drop Text Option in the Section block.
    • Access HTML Mode for Advanced Editing
    • Insert Required Code for Desired Results
  6. Saving Your Template
    • Click on Save to Preserve Changes
  7. View Configuration and Customization
    • Check Template Views: Desktop or Mobile Options
    • Customize Color, Fonts, and Alignment as Needed
  8. Finalizing and Applying Filters
    • Save Changes After Applying Necessary Filters


How can we help?